
Click for Index
If other drivers for your Epson receipt printer have been installed, please uninstall them to avoid conflicts with the driver you are about to install.Ā In most cases, this is just a matter of uninstalling them via the Windows printer setup screens.
Then download the setup file from the Quadrant Website at
this link: Driver Download
Save it to your local hard drive in a location where you can
easily find it. Normally, this will be in your DOWNLOADS directory.
Make sure your receipt printer is
connected to the workstation via a USB cable,
that it has paper installed, and is
turned on so the setup can recognize it when that step arrives.
Click on the setup file to run it.
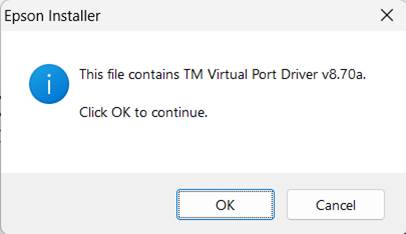
Click on OK
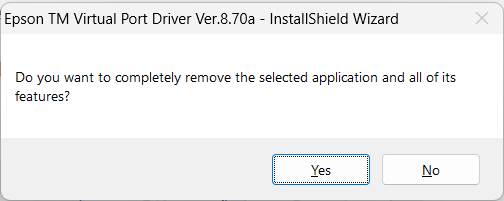
If the setup program recognizes prior installations of other Epson drivers it should remove them as the first step of the new install process. Just click on YES to continue if this dialog box appears.
A confirmation that the older version was removed will appear.
Then the setup should proceed:
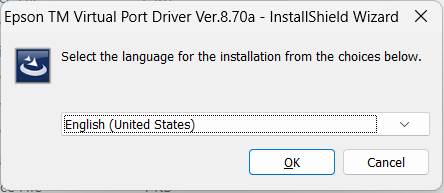
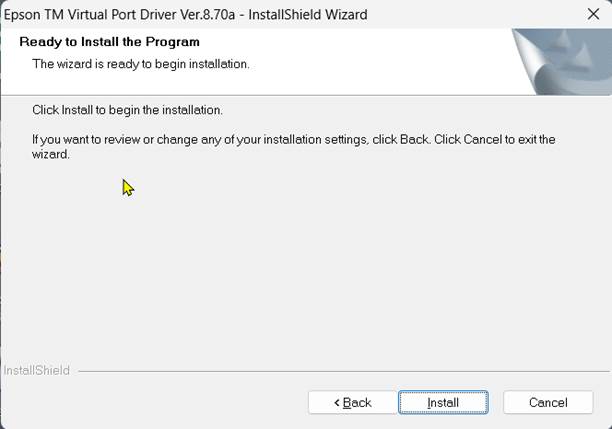
The setup will then continue with the install of the new drivers.Ā
It may take a few seconds for this screen to appear.Ā
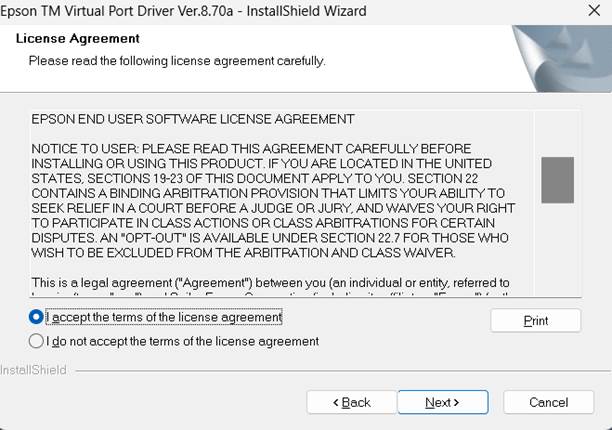
Click on NEXT to continue.

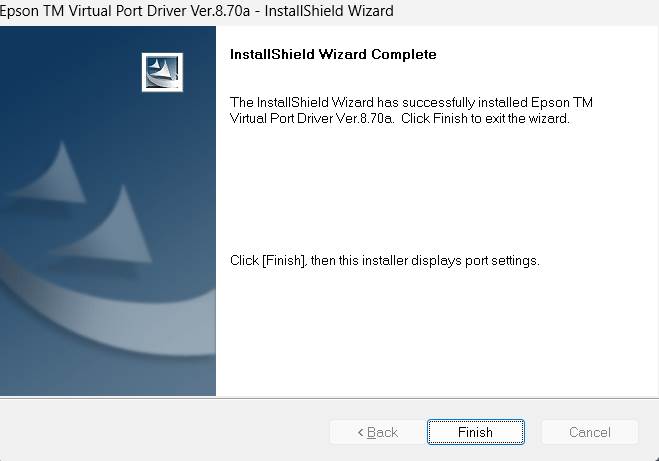
In a minute or so, this screen should appear.ĀĀ Click on FINISH.
Then the following screen should appear:
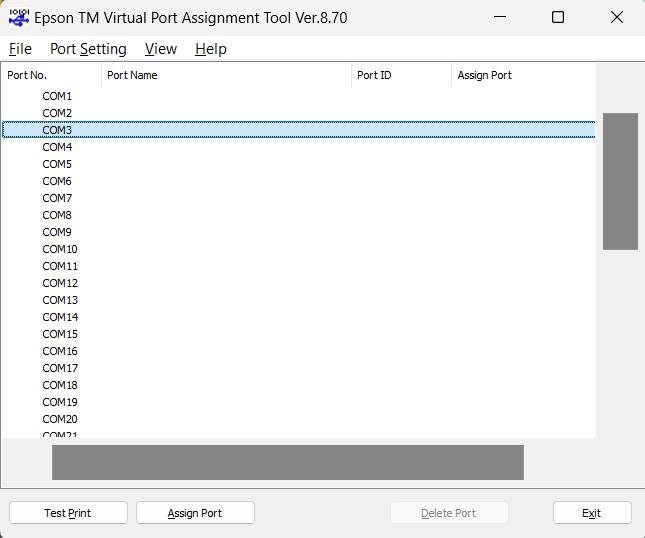
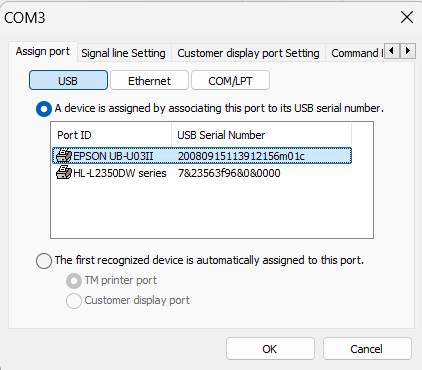
We recommend clicking on COM3, and then insuring you have selected USB in the additional screen that appears.Ā When the setup recognizes the attached printer it should appear under Port ID. Click on the OK button.
The port assignment screen should then re-appear and you should see a screen similar to this one:
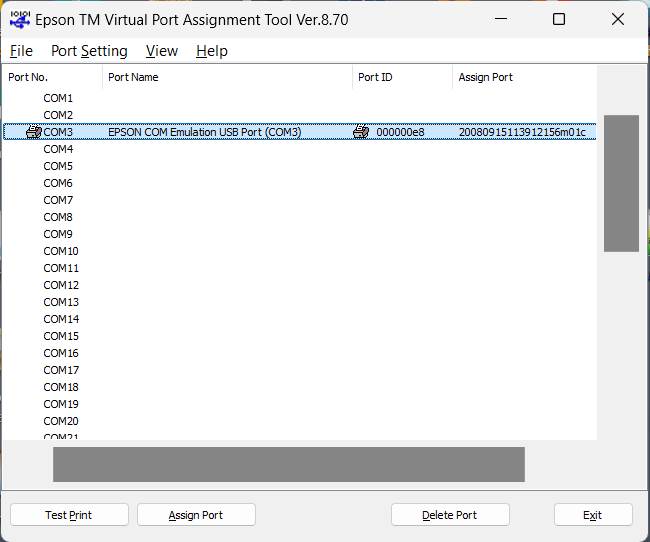
Click on the assigned port (the line will turn blue)
Then click on TEST PRINT near the bottom of the screen. A very small test print receipt (just 4 lines) should come out of the top of the printer.
Lastly, start the RASWIN program and select MAINTENANCE→Special Functions Menu.Ā You should see a screen with the top left portion that looks like the one below.
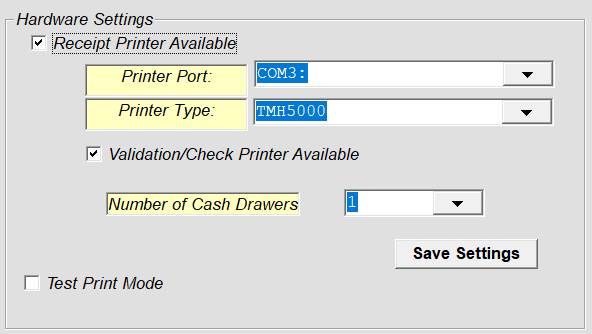
Ensure the Receipt Printer Available and Validation/Check Printer Available options are CHECKED.
If you have a cash drawer attached to the printer, set the number of drawers to 1.
TEST PRINT MODE should be UNCHECKED.
Make sure that the PRINTER PORT in the box matches the port you assigned via the Epson driver setup.
That should be all that is needed to make the printer communicate with the RASWIN program.