Edit Transactions
When a cashier makes an error during the entry of a
receipt and does not detect and correct the error prior to
the
completion of the receipt there are two options available to
resolve the error. First, and recommended, is to void the
receipt
and re-enter it with the correct information. This is the
safest and the most easy to audit.
However, there may be times when it is more convenient to
simply
edit the receipt data to correct minor errors ... for
example, entry
of
the wrong payment method, an error in spelling of the payer
name,
etc., are good candidates for use of the edit function.
The Receipt Edit option allows you to safely correct these
sorts of
errors. Depending on your security level you can set up the
edit
to permit you to edit just a few fields or nearly all the
entry
fields
on the receipt.
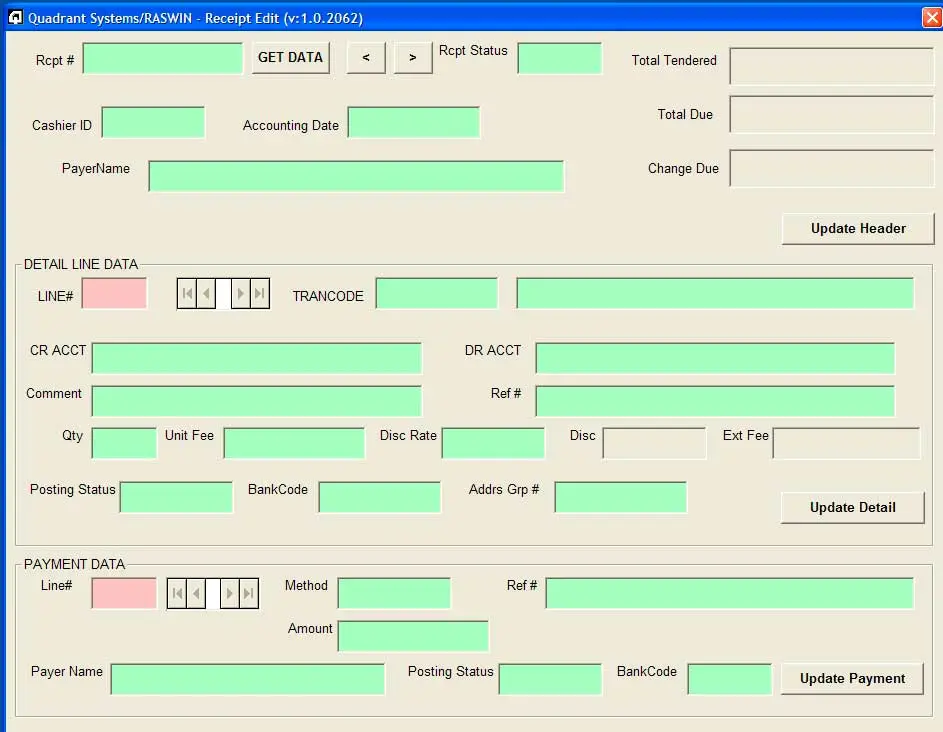
To use the edit option select

The system will display the edit screen:
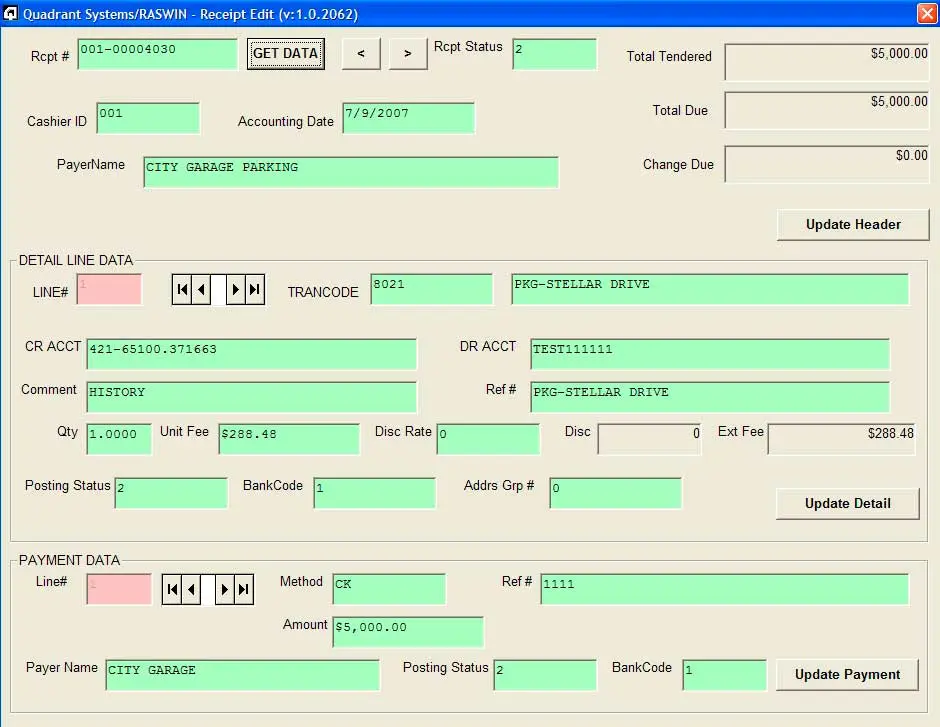
Enter the
receipt number
you want to edit. This can be entered without leading zeros
as shown
below. The value left of the dash is the
register number,
and to the
right
is the
receipt sequence number. Click
the
GET DATA button
to retrieve the data for the receipt. If
you enter it with out the leading zeros , it will
automatically format it correctly.

If the receipt is found it will display the data related to
that receipt. Note that in the example below, most of the
fields are light green. This means that your security level
allows you to edit these fields. After editing any of the
green fields, you will need to click on the UPDATE button
associated with that data ... the RECEIPT HEADER section,
which contains the information about the date and payer name,
the RECEIPT DETAILS section, which contains information about
the particular line items on the receipt, and finally the
RECEIPT PAYMENTS section which contains data about the
payments.
Please note that you can not ADD or DELETE line items or
payment items via the edit function. You can only EDIT and
UPDATE existing lines. Also note that changing the transaction
or payment amounts will result in the receipt totals will be
updated automatically so the receipt remains in balance.
Change due may be calculated and via the EDIT FUNCTION it can
'go negative' (which is not possible with the normal receipt
entry process) ... so be very careful when adjusting any of
the line item or payment amounts.
The navigation buttons

permit you do move forward or backward in the receipt line
items or payments area. For example, if the receipt has more
than one line item associated with it, the left-right buttons
will move to the previous or next item. The same applies to
the payments area.
If you click on the Left or Right arrow buttons next
to the
GET DATA
button,

the program will attempt to retrieve the prior or next
receipt. It will simply subtract or add one to the receipt
number (right portion) of the value in the RECEIPT# field. It
will not change the register number. The screen below shows an
example of a user with limited edit rights. The fields shown
in light-red color can not be edited by this user.
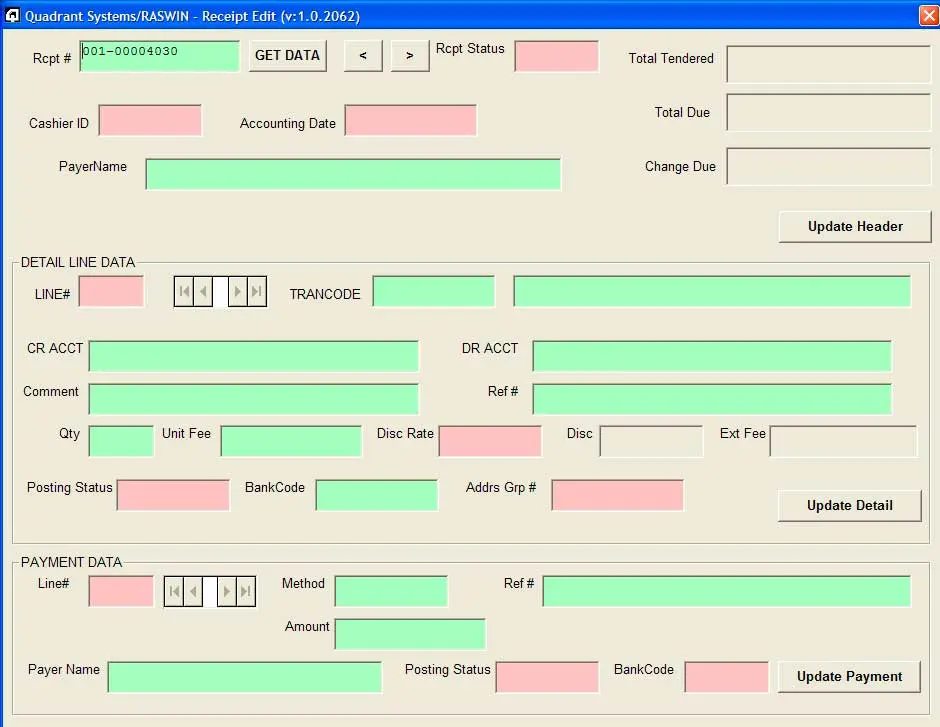
To control which fields can be edited your supervisor will
define a list of fields associated with each security level
via the
EDIT RULES
table.
Normally
users are assigned a
security level such as
99,
999,
9999, and
99999. As the
level increases their privileges increase. So, for example, if
a cashier has a
security level of
999,
the program will read the edit rules table and permit edit of
any fields that are coded to a level of
999 or less. These will be the 'green'
fields. Any fields that are above that level will be
restricted from being edited.